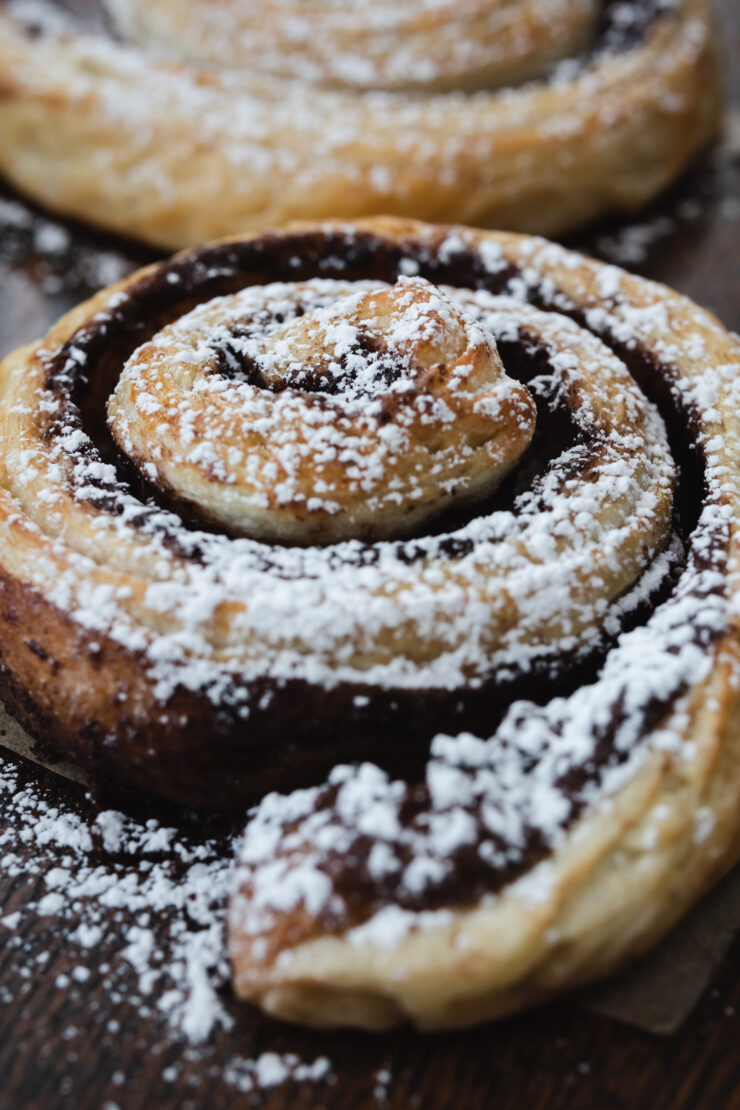
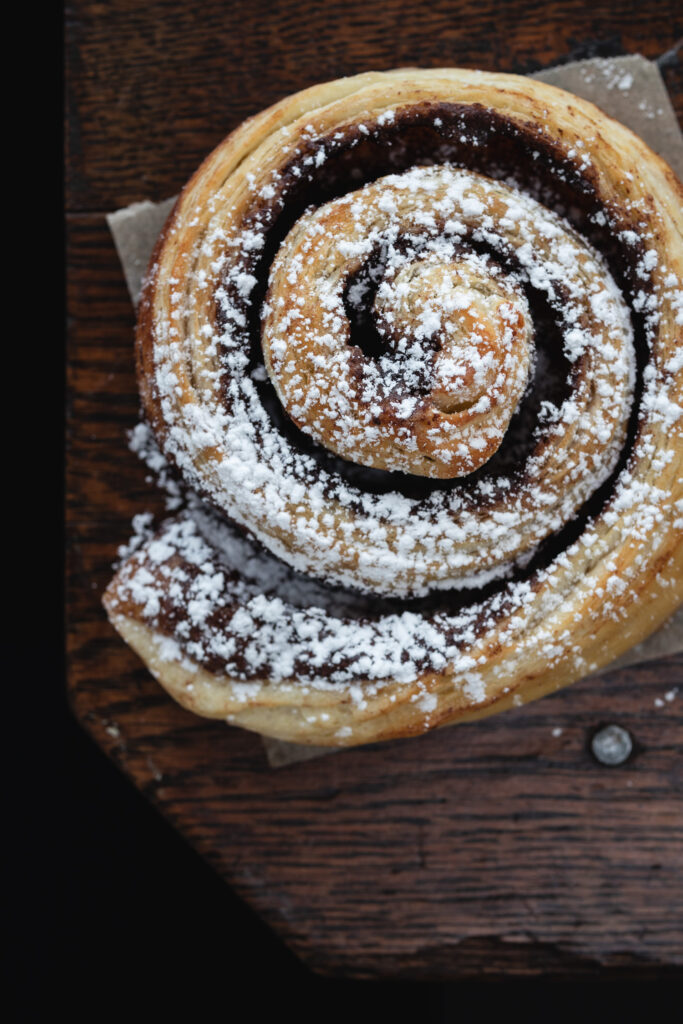
Kakaós csiga are chocolate rolls often served for breakfast in Hungary. Traditionally made with laminated blundell pastry, these Hungarian chocolate rolls have crisp edges and soft, fluffy centers. Buttery, flaky dough encircles a rich chocolate swirl that hypnotizes with the promise of chocolate escapism.
Kakaós csiga are made with blundell pastry, a laminated dough similar to Danish pastry. Blundell pastry, or plunder dough, is like a cross between a croissant and a Danish pastry. Where croissant dough does not include eggs, Danish pastry and blundell dough do. The main difference between Danish pastry and blundell dough is the amount of fat rolled into the dough. Blundell pastry, like croissant dough, uses less butter for the roll-in than Danish pastry.
Kakaós Csiga History
Kakaós csiga were first made in Göd, a small town on the Danube river just north of Budapest. Mór Pösch, a baker in the town, created the pastry in 1908 to celebrate his 33rd birthday. After his party, he had extra and chose to sell them in his shop rather than letting them go to waste. The csokoládés tekerge, or chocolatey swirls, sold exceedingly well and he decided to add them to his menu.
Nowadays, the chocolate rolls go by the name of kakaós csiga, or chocolate snails, like Schnecken pastries popular in German-speaking countries. Kakaós csiga can be found all over Hungary in bakeries and pastry shops and are one of the best-selling breakfast pastries.
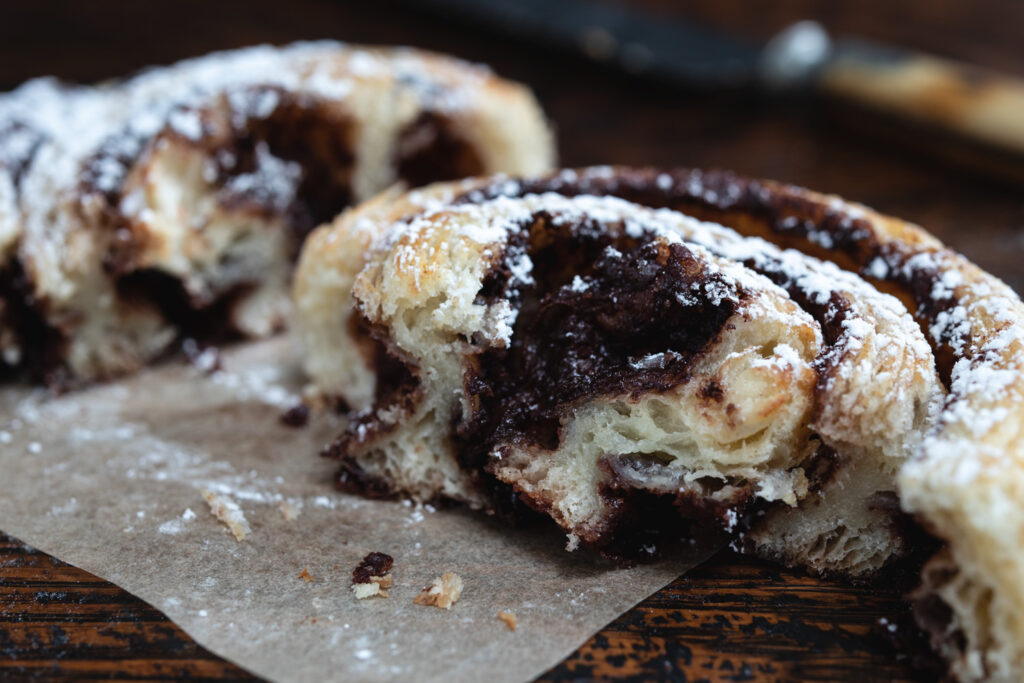
Tips for Making Kakaós Csiga
- The butter for the roll-in needs to be worked before it’s shaped and used for laminating the dough. This ensures there are no hard butter lumps that could tear through the dough. Work the dough by hand by placing it between two sheets of parchment paper and beating it with a rolling pin until smooth and malleable. You can also use a stand mixer with the paddle attachment. It’s a balancing act, you don’t want it to warm up and become too soft. The butter should be the same consistency as the dough. If the butter is too soft it can be squeezed out of the dough when rolling, or worked into the dough, preventing layers from forming.
- I like to use parchment paper to shape the butter for the roll-in. Fold the parchment into a 5-inch (12.5 cm) square, enclosing the butter within. Then use a rolling pin to distribute the butter. The parchment envelope ensures the butter stays square and the desired size. After shaping the roll-in, refrigerate it until firm, but still pliable, about 10 minutes.
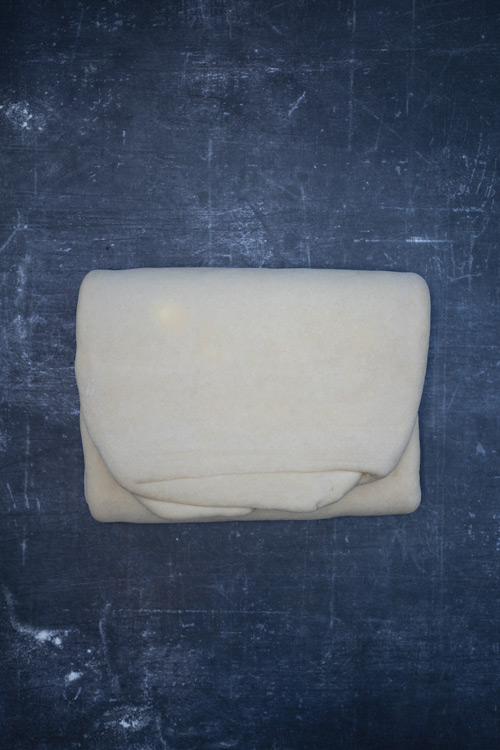
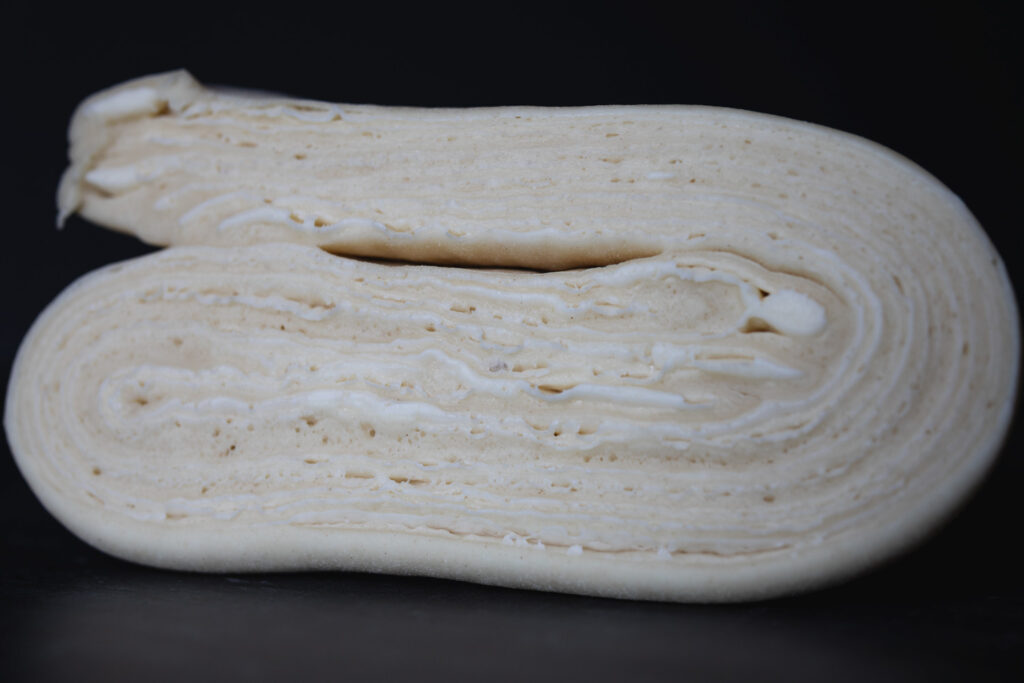
- This blundell pastry relies on two types of folds during the lamination process. A book fold (or four-fold) and an envelope fold (or three-fold). A book fold quadruples the number of layers and an envelope fold triples the number of layers each time. The folds are shown in pictures below.
- The dough needs to rest and chill for at least 30 minutes after each fold. If the dough warms up too much, the butter may begin to ooze out of the dough or get worked in too much. The warmth could start to activate the yeast as well. The rest is also important for gluten development. Anytime you try to roll out the dough and it springs back or resists, wrap it back up and allow it to rest longer.
- This blundell recipe makes a lot of pastry, enough for about 2 dozen rolls. I like to divide the dough in two and work with one half at a time. Or you can freeze half of the dough for later use.
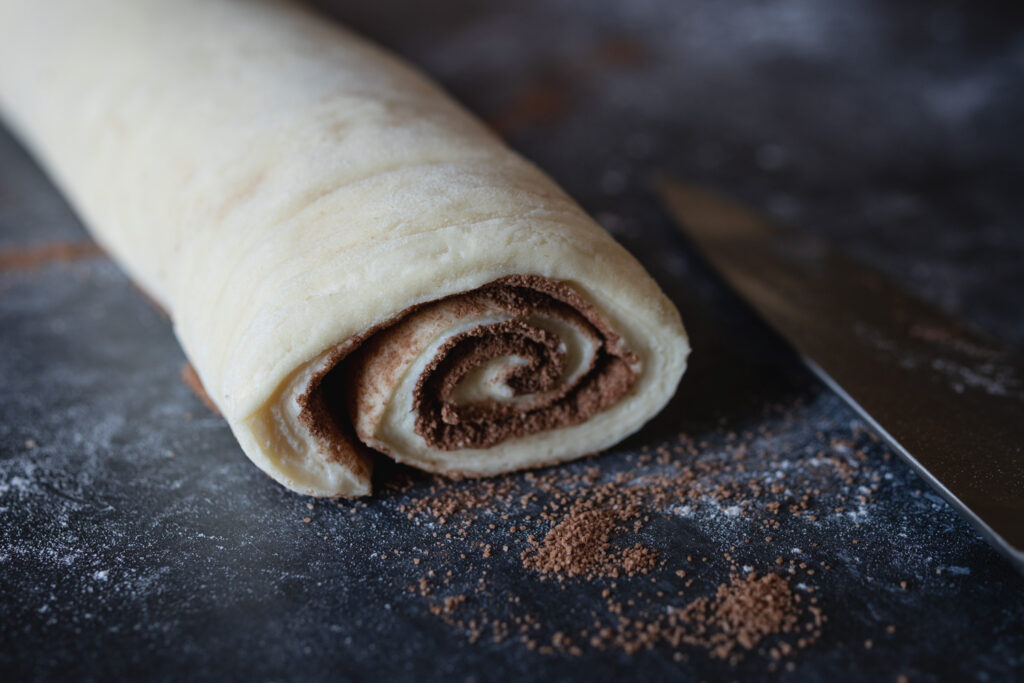
- When you’re ready to make the rolls, roll out the dough to about 1/4-inch (0.5 cm) thick. This should be roughly 14 by 18 inches (35 by 46 cm). Roll from the short end and roll tightly. Gently pull and stretch the dough while rolling to ensure it’s tight.
- Slice the rolls about 1 inch (2.5 cm) thick; you should get about 10-12 rolls. I often choose to discard the end pieces as they’re not evenly shaped and have less filling.
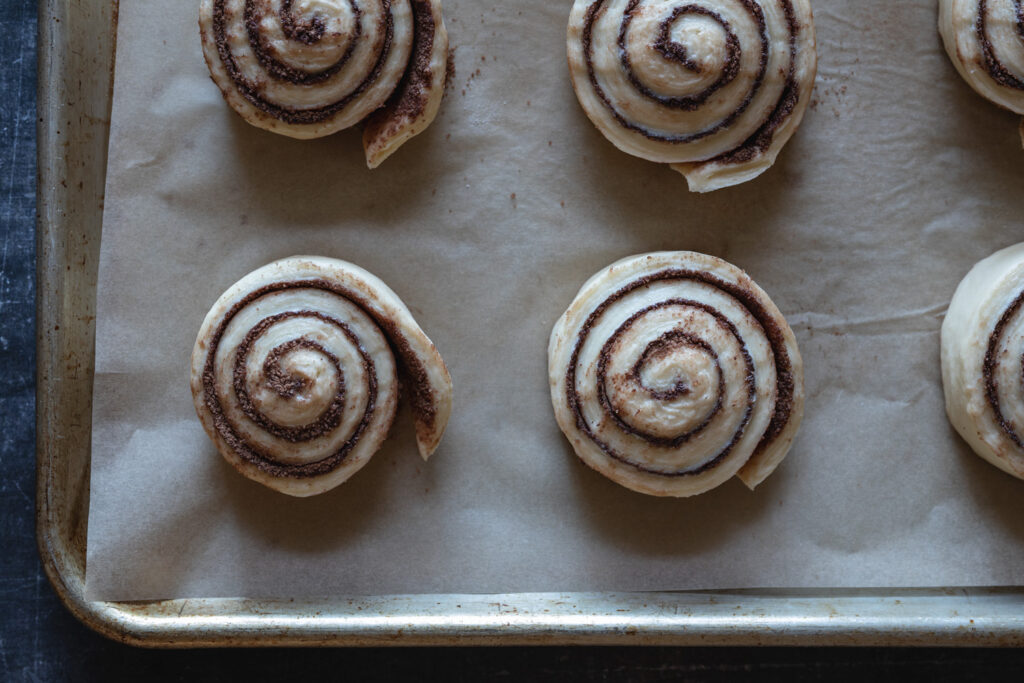
- Unlike many cinnamon roll recipes, kakaós csiga are baked spaced apart rather than nestling them together in a cake pan. This gives them crisp edges with a soft center. Transfer the rolls to a parchment-lined baking sheet and space them about 2 inches (5 cm) apart. They will expand while they proof.
- It’s important to check on their rising. If they rise for too long, they won’t be as flaky and will end up spongy. But if they don’t rise long enough, some of the butter in the dough will run out because there is not enough dough volume to absorb the fat while it melts. This will result in a dry and heavy pastry. The rolls are proofed when they have roughly doubled in size. To test if they’re properly proofed, poke one of the rolls with your finger. If it springs back right away, it needs more time. If it springs back slowly and leaves a small indentation, they’re ready to bake. It will take about 1 to 2 hours, depending on the temperature of the room.
- Before baking, brush the rolls lightly with egg wash. This makes sure they brown nicely while baking.
- Kakaós csiga are usually served with a dusting of powdered sugar.
Ingredients:
240ml whole milk, heated to 43°C (110°F)
7g active dry yeast (1 packet)
600g bread flour
70g granulated sugar
1 teaspoon salt
2 large eggs
1 egg yolk
60g unsalted butter, softened
ROLL-IN
340g cold unsalted butter
FILLING
115g unsalted butter, softened
28g unsweetened cocoa powder
135g granulated sugar
EGG WASH
1 large egg
1 teaspoon water
Confectioners’ sugar, for dusting
1 cup whole milk, heated to 43°C (110°F)
2 1/4 teaspoons active dry yeast (1 packet)
5 cups bread flour
1/3 cup granulated sugar
1 teaspoon salt
2 large eggs
1 egg yolk
1/4 cup (1/2 stick) unsalted butter, softened
ROLL-IN
1 1/2 cups (3 sticks) cold unsalted butter
FILLING
1/2 cup butter (1 stick) unsalted butter, softened
1/3 cup unsweetened cocoa powder
2/3 cup granulated sugar
EGG WASH
1 large egg
1 teaspoon water
Confectioners’ sugar, for dusting
Blundell Pastry
1. Bloom the yeast:
Dissolve the yeast in the warm milk and let stand until it starts to foam, about 10 minutes.
2. Combine the dry ingredients:
Add the flour, sugar, and salt to the bowl of a stand mixer with the dough hook attachment. Mix on low speed until evenly distributed, about 30 seconds.
3. Make the dough:
Add the milk mixture, the eggs, the yolk, and the butter to the flour mixture and mix on low speed until the dough comes together, about 2 minutes. Then, increase the speed to medium and continue to mix until smooth, about 4 minutes.
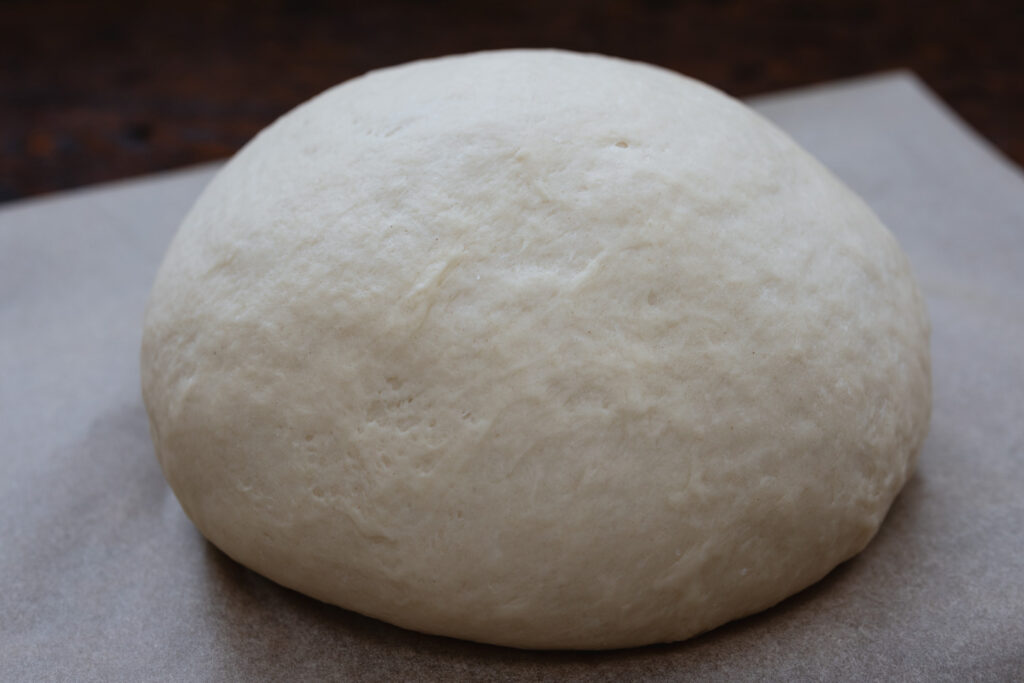
4. Let the dough rise:
Cover the bowl with a damp tea towel or plastic wrap and let the dough rise until roughly doubled in size, about 2 hours.
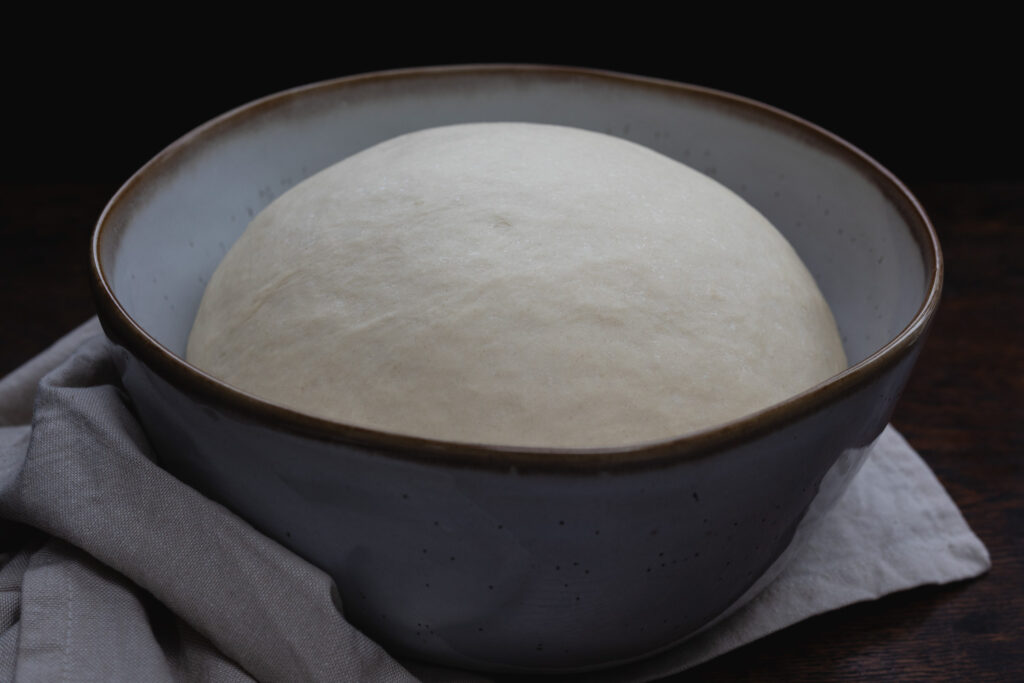
5. Chill overnight:
Punch down the dough to deflate. Shape the dough into a rectangle and wrap it tightly in plastic wrap. Chill the dough in the refrigerator overnight, or about 8 hours.
Laminate the Dough
1. Prepare the roll-in:
Work the cold butter until it is pliable and lump free. This can be done in a stand mixer with the paddle attachment on low speed, being careful not to soften the butter too much. It should be smooth and malleable, but not overly soft. You can also work the butter by hand by placing it between two sheets of parchment paper and pounding it with a rolling pin.
Shape the butter into a 5-inch (12.5 cm) square. The easiest way I’ve found to do this is to transfer the butter onto a sheet of parchment paper and fold the parchment paper into a square around the butter, sealing it in. Use a rolling pin to evenly roll out the butter to the edges and corners of the parchment paper envelope.
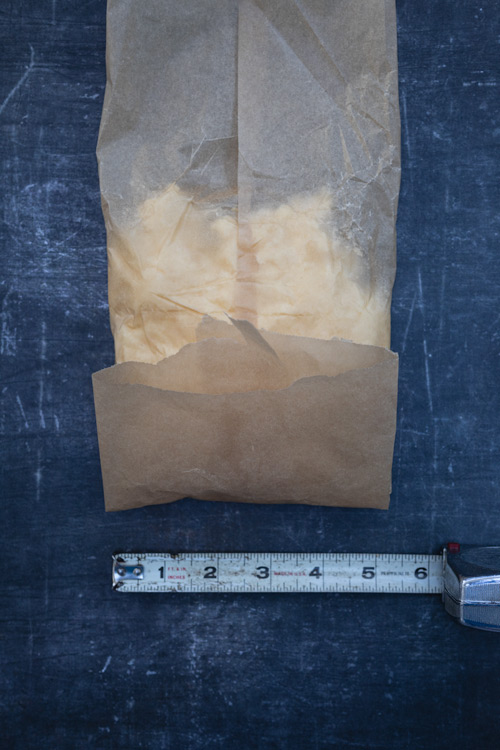
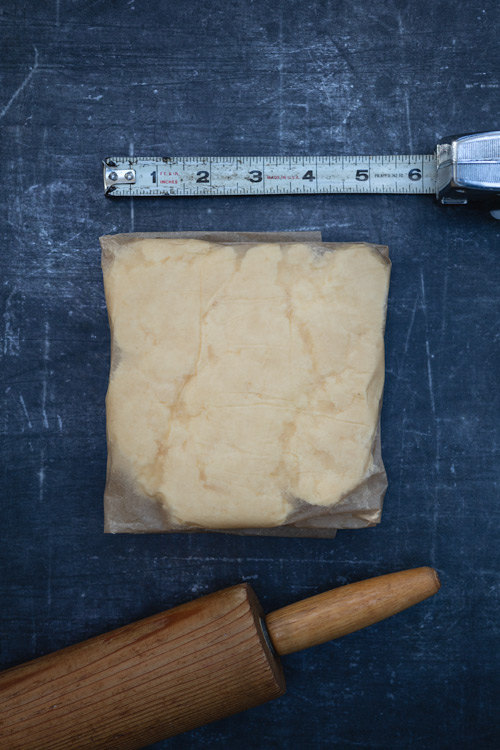
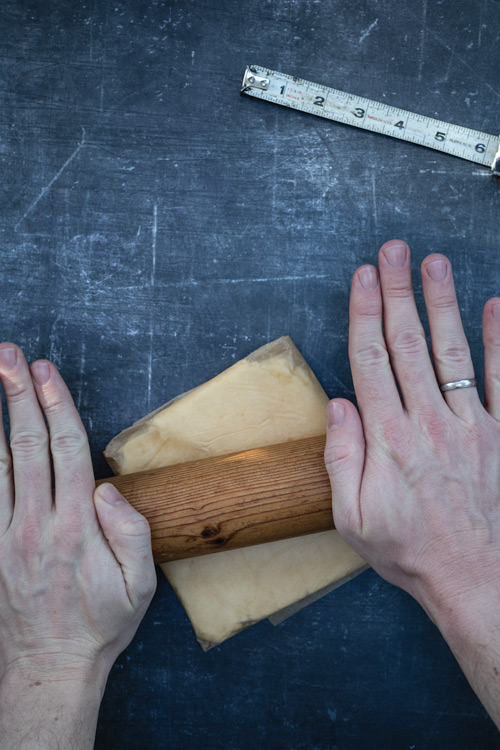
Refrigerate the roll-in until firm, but still pliable. The goal is for the butter to be the same consistency as the dough when rolling them together. If the butter is too hard, let it stand at room temperature. If the butter is too soft, let it chill for longer in the refrigerator.
2. Lock the roll-in into the dough:
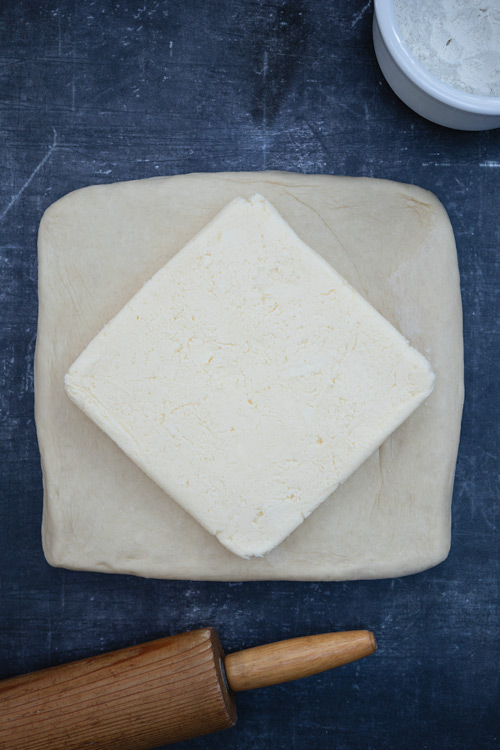
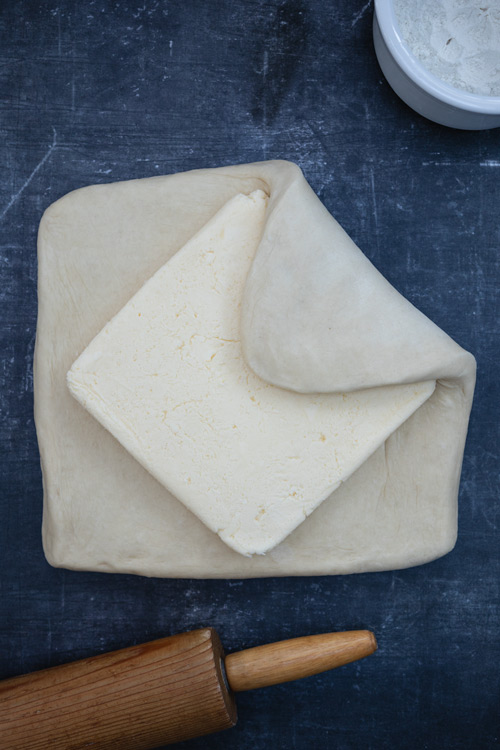
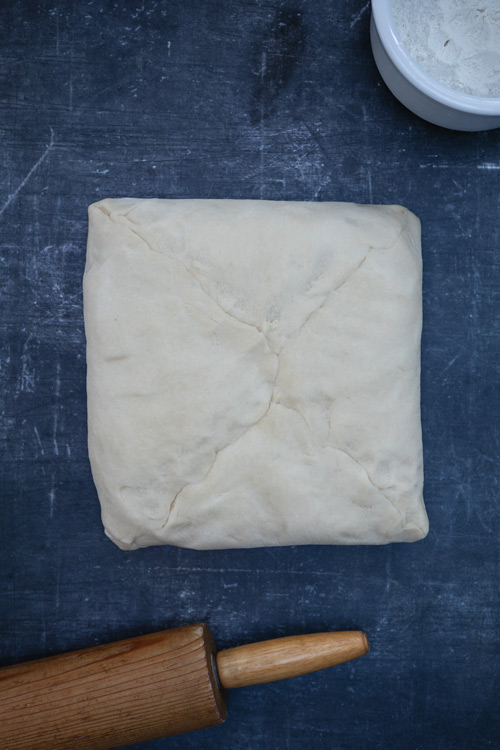
Sprinkle the work surface with a light dusting of flour. Roll the dough out to a 7-inch (17.5 cm) square. Place the chilled butter square in the center of the dough, offset so that four dough triangles are showing. Fold down each dough triangle to the center of the butter and seal the dough around the butter.
3. Perform a book fold:
Roll the dough into a long rectangle, about 12 by 8 inches (30 by 20 cm), keeping the edges straight and the corners square. Sprinkle the dough and work surface lightly with flour as needed to prevent sticking.
Fold the two ends of the dough so they meet off center. Then, fold the dough in half, like closing a book.
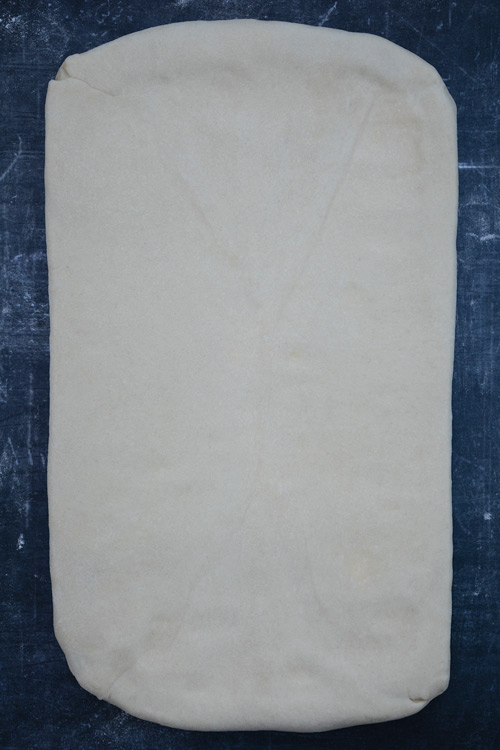
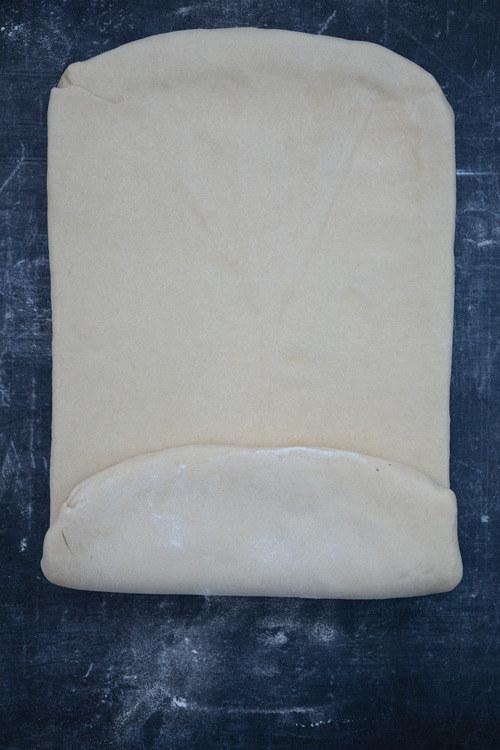
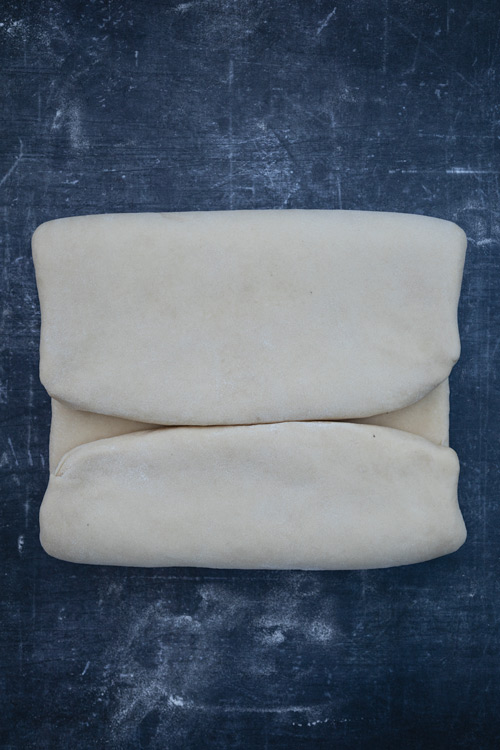
Wrap the dough in plastic and let it rest in the refrigerator for at least 30 minutes.
4. Administer an envelope fold:
Turn the dough 90 degrees from its position before it was refrigerated. The short-end seam should be facing you, with the long edge on the right or left.
Roll the dough into a long rectangle, about 12 by 8 inches (30 by 20 cm), keeping the edges straight and the corners square. Sprinkle the dough and work surface lightly with flour as needed to prevent sticking.
Fold one third of the dough over the middle of the dough. Then fold the opposite end over the top, like folding a letter.
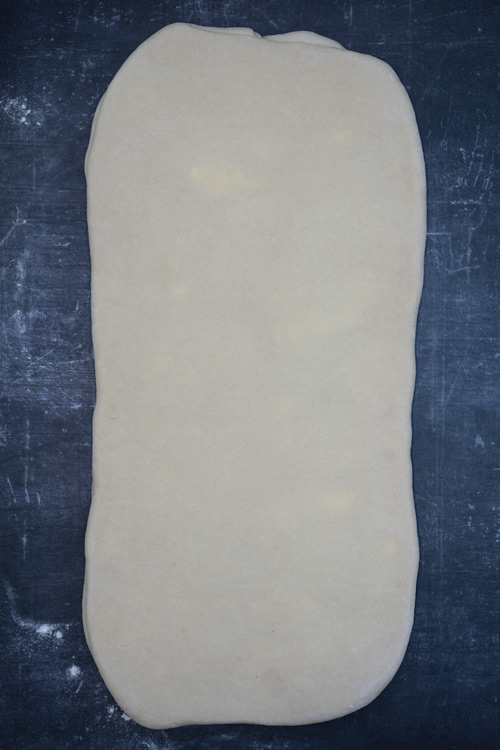
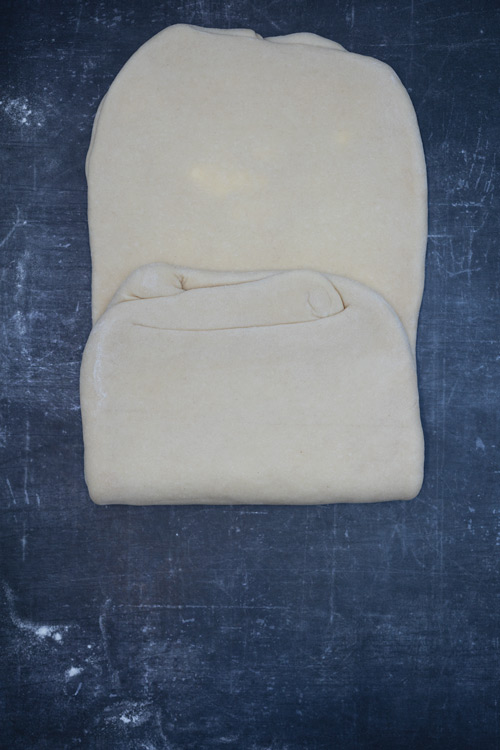
Wrap the dough in plastic and let it rest in the refrigerator for at least 30 minutes.
Repeat this process one more time for a total of two envelope folds.
5. Chill the dough:
After the final envelope fold, wrap the dough in plastic and let it rest in the refrigerator for at least 30 minutes before rolling out and using the dough.
Make the Rolls
1. Roll out the dough:
Working with half the dough at a time, roll the dough out to a rectangle about 14 by 18 inches (35 by 46 cm). Sprinkle the dough and work surface lightly with flour as needed to prevent sticking.
2. Fill the rolls:
Spread half of the softened butter (1/4 cup or 1/2 stick) evenly over the dough.
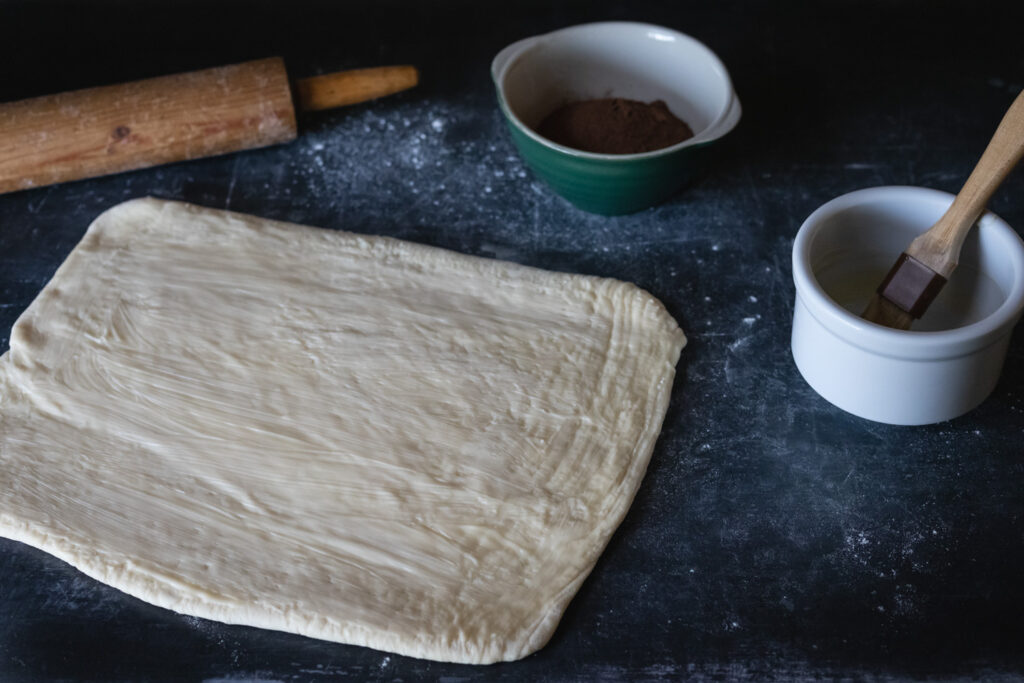
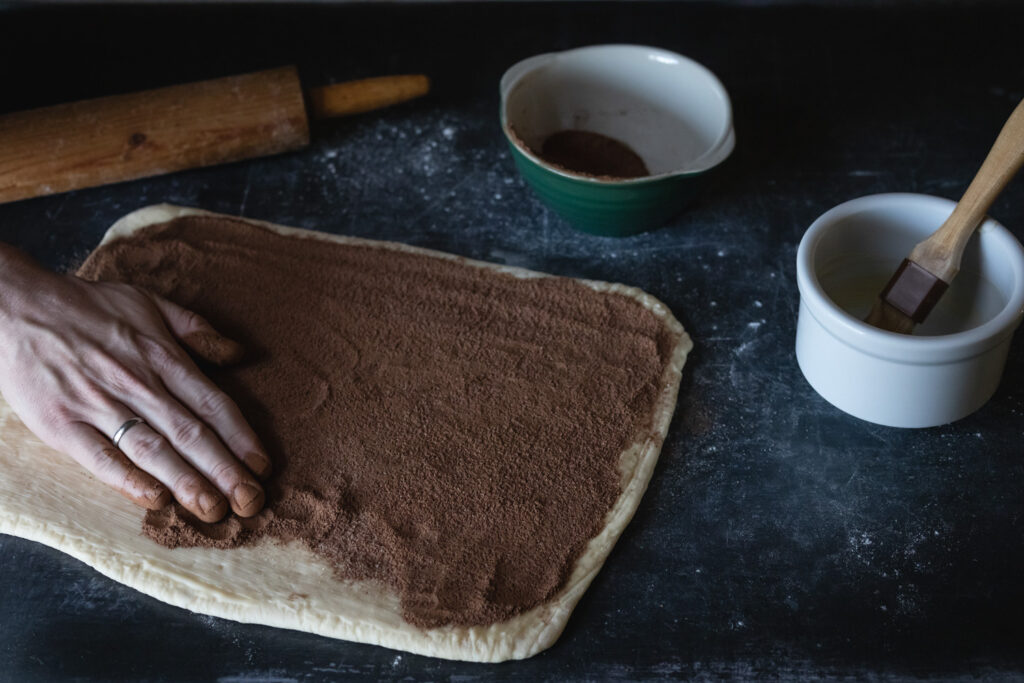
In a small bowl, mix together the sugar and cocoa powder. Use your hands to sprinkle half of the cocoa mixture evenly over the buttered dough, then rub the cocoa mixture into the butter.
3. Roll:
Tightly roll up the dough, starting from the short side and place the seam side down.
4. Slice:
Slice the rolls 1-inch (2.5cm) thick using a serrated knife. You may need to discard the ends, as they won’t have as much filling. You should get about 10 to 12 pieces.
Repeat filling, rolling, and slicing the other half of the dough.
5. Proof the rolls:
Place the rolls on a parchment-lined baking sheet, leaving about 2 inches between each roll.
Make an egg wash by mixing together the egg and the water in a small bowl. Brush the tops and sides of each roll with a light coating of the egg wash.
Cover the pans with plastic wrap and let the rolls rise until almost doubled in size, about 1 to 2 hours.
6. Preheat the oven:
Preheat the oven to 220°C (425°F).
7. Bake the rolls:
Remove the plastic wrap from the pans. Apply another light coating of egg wash to the tops and sides of each roll.
Bake the rolls for 15 minutes, or until golden brown.
8. Cool and dust with sugar:
Allow the rolls to cool. Then serve with a dusting of confectioners’ sugar.

where is step 8? it goes 6,7,9
Hi Hanna! Thank you for catching that! I’ve just fixed it, sorry for any confusion. Happy Baking!
I’m Hungarian and I decided to try this recipe because it looked tastier than other Hungarian recepies I found. I was not dissapointed! They taste almost exactly like a magyar csiga (Hungarian). I would recommend rolling your dough very thin before applying the spread because traditionally the layers of bread and kakaó are repeating and thin. Also you could use less sugar in the dough if you want, personaly I think 70g is much. Very good recepe!! As a Hungarian I am so impressed that this American recepe was so good!
I’m so glad the recipe worked out well for you and that it’s been approved by a Hungarian! Thank you for the tips too.