Some links may be affiliate links. We may get paid if you buy something or take an action after clicking one of these.
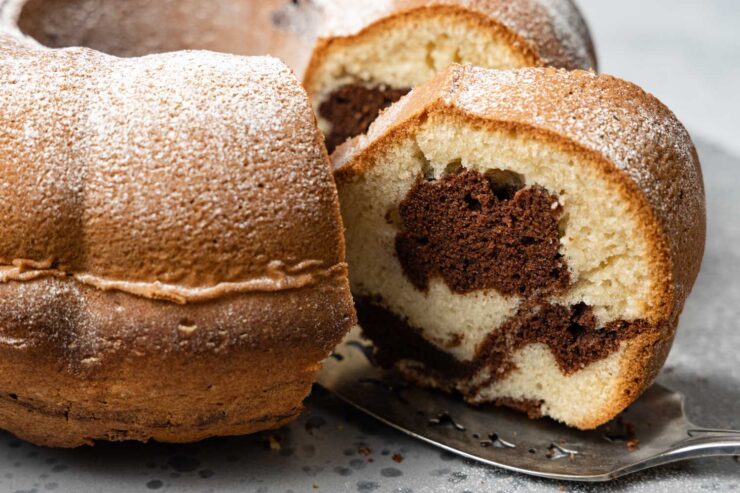
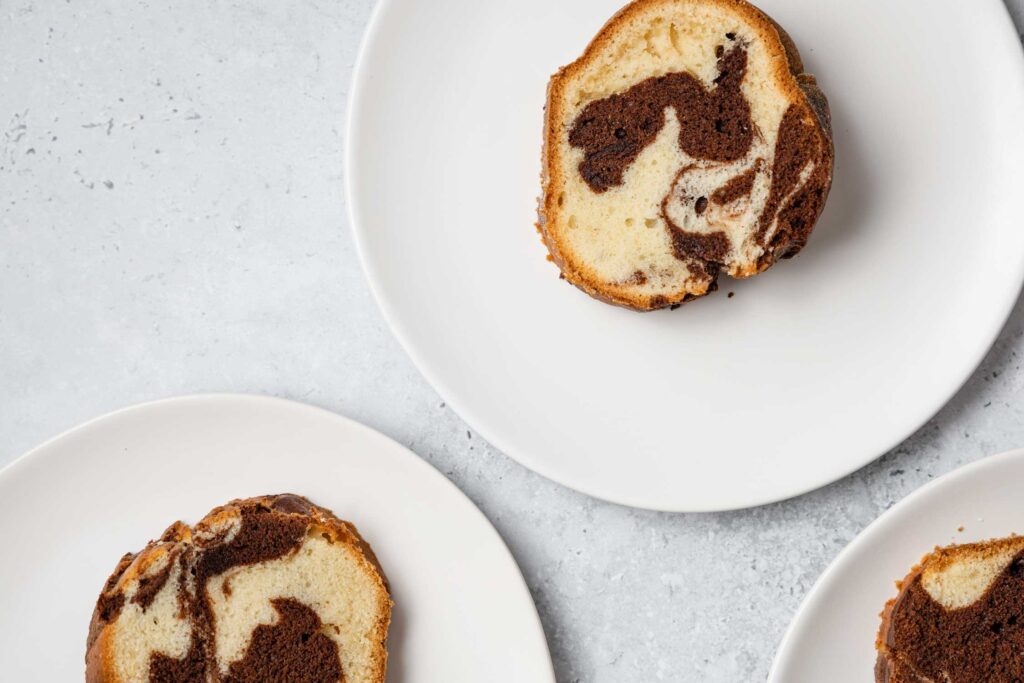
Marble cake is a swirled chocolate and vanilla cake that’s a classic around the world. It’s made from a rich batter, then divided so part of it can be flavored with chocolate. The two batters are lightly swirled together to create a pattern reminiscent of marble.
While it’s a ubiquitous favorite, marble cake is originally from Germany or Austria. Nowadays it’s usually vanilla cake with a chocolate swirl. But early recipes used spices and molasses for the dark swirl. It turns out, multicolored, swirled cakes were popular in Austria as far back as the late 17th century, with all kinds of flavors, from spinach to cinnamon.
It’s traditionally baked in a Gugelhupf or bundt pan, but you could also halve the recipe and bake it in a loaf pan instead.
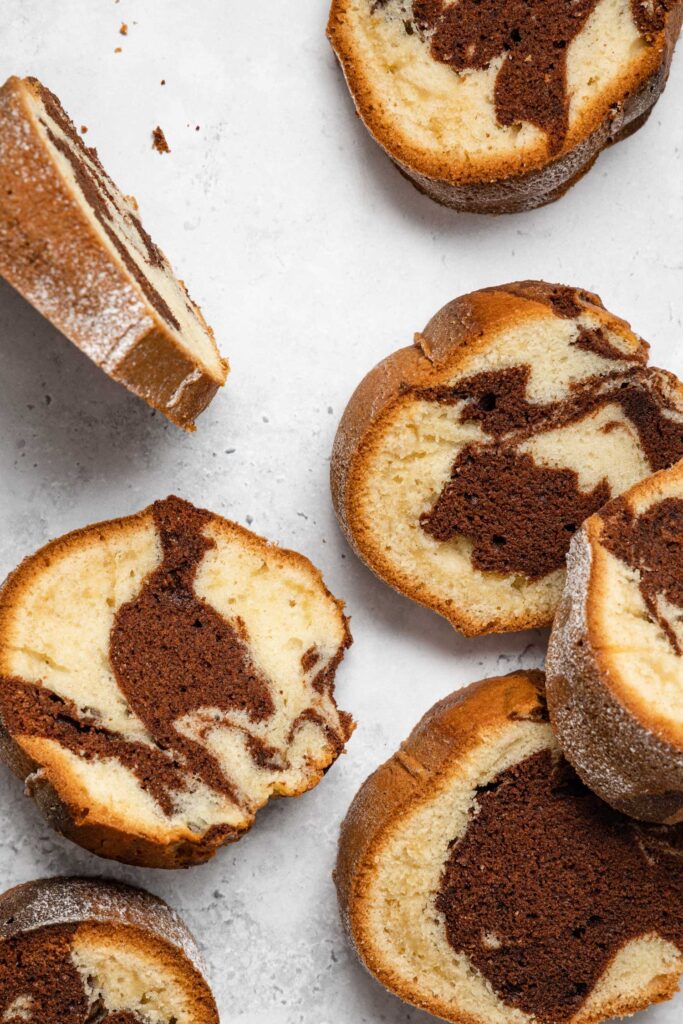
How to Make a Moist Marble Cake
- Strictly speaking, this isn’t exactly the most traditional marble cake. After several tests and adjustments, I settled on a few techniques and ingredients that aren’t usually used in a German marble cake, but make for a richer, softer cake.
- For marble cake, usually, a third of the batter is mixed with cocoa powder to make the chocolate swirl. Cocoa powder on its own tends to dry out cake batter unless compensated for with another liquid ingredient. Even so, it often doesn’t have enough of a chocolate flavor. I instead opted to use melted dark chocolate with a little bit of cocoa powder. This results in a batter that is rich with chocolate and not at all dry.
- Traditional Marmorkuchen is similar to a pound cake, with equal amounts of flour, butter, eggs, and sugar. They start by creaming the butter and sugar, beating in the eggs, and finishing with the dry ingredients. But with those proportions and mixing method, you almost always end up with a dry cake.
- The mixing method for this version of marble cake may seem a bit backward, but that’s because it is. I learned about the “reverse creaming method” from Rose Levy Beranbaum’s baking books. In this method, you mix the softened butter and some of the liquid ingredients are first mixed with the dry ingredients. Then, the rest of the wet ingredients are added.
- The reverse creaming method has several benefits:
- When a cake recipe has a lot of eggs compared to the amount of butter and sugar, the emulsion can break and curdle the batter. Using the reverse creaming method, this doesn’t happen. The batter remains smooth.
- By adding the butter directly to the flour, the flour gets coated by the fat in the butter and helps prevent excess gluten formation.
- Because the dry ingredients are added at the beginning, they are more evenly dispersed in the batter, resulting in a more consistent batter.
- I also added sour cream to the batter. Sour cream adds a lot of moisture to the batter, without watering it down. You could substitute crème fraîche or whole-fat Greek yogurt, but I prefer sour cream because of the fat content and price point.
Ingredients:
Yields one 10-inch (25cm) bundt cake.
1 tablespoon cocoa powder
360g plain flour
300g sugar
1 1/2 teaspoons baking powder
1/2 teaspoon baking soda
1/4 teaspoon salt
230g unsalted butter
230g (240ml) sour cream
4 large eggs
1 tablespoon vanilla extract
1 tablespoon cocoa powder
3 cups plain flour
1 1/2 cups sugar
1 1/2 teaspoons baking powder
1/2 teaspoon baking soda
1/4 teaspoon salt
1 cup unsalted butter
1 cup sour cream
4 large eggs
1 tablespoon vanilla extract
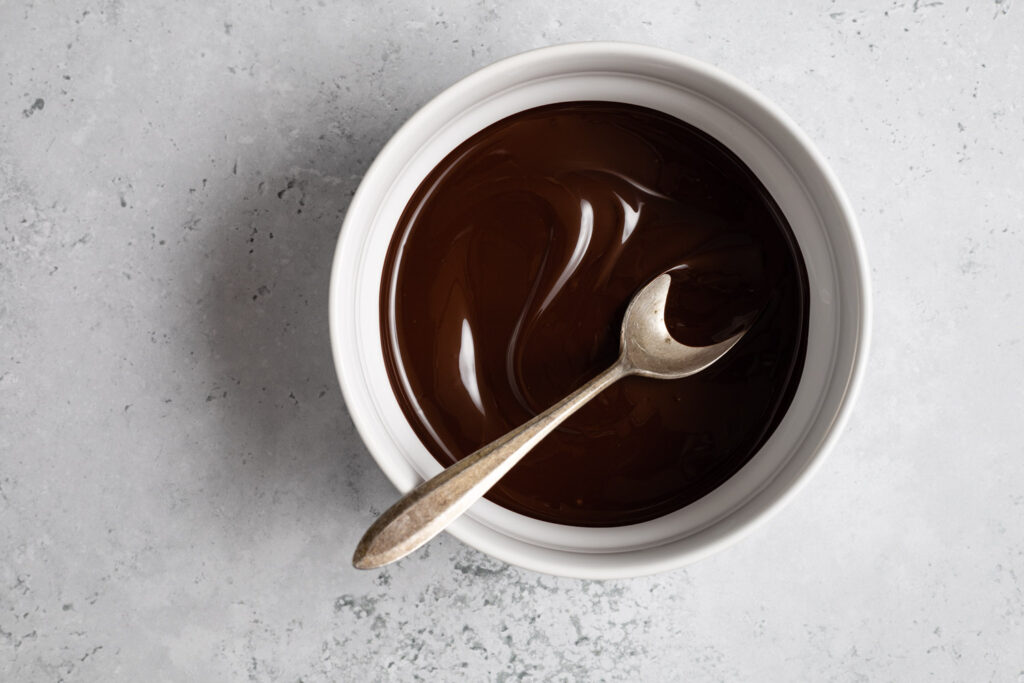
1. Melt the chocolate:
Place a saucepan filled with an inch or two of water on the stove over medium-low heat. Break the chocolate into pieces in a heatproof bowl and set the bowl over the bain-marie to melt the chocolate. When the chocolate is completely smooth, remove the bowl from the pan. Add the cocoa powder and mix until smooth. Set aside to cool.
2. Preheat the oven:
Adjust the oven rack to the middle position and preheat the oven to 175°C (350°F).
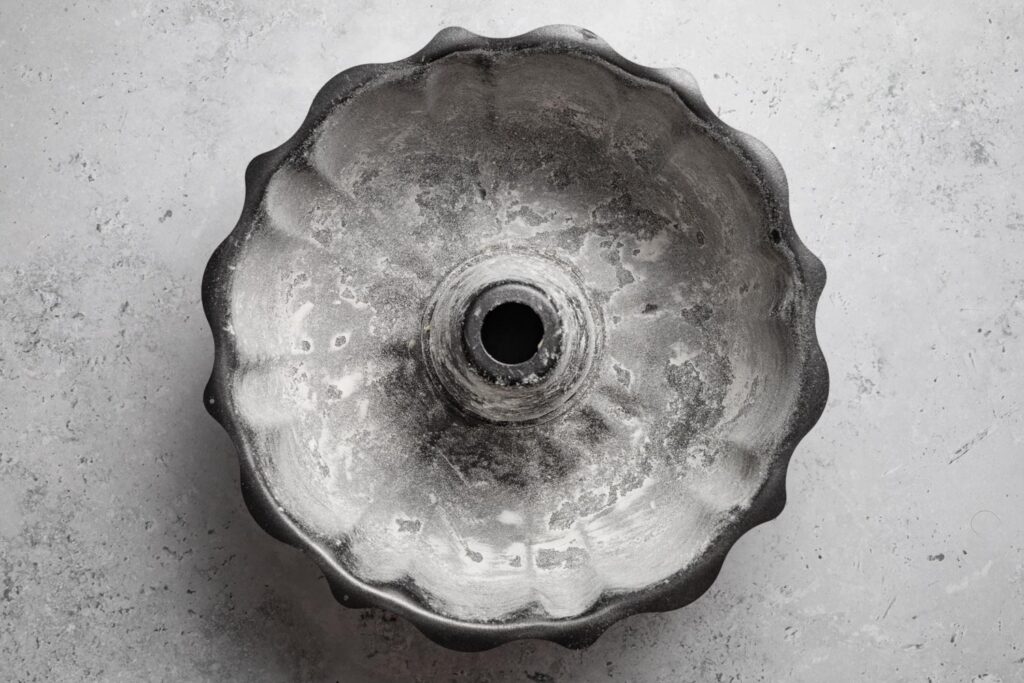
3. Prepare the pan:
Grease a 10-inch (25cm) bundt pan generously with butter and dust with flour. Tap out the excess flour and set aside. Make sure to grease all of the ridges well.
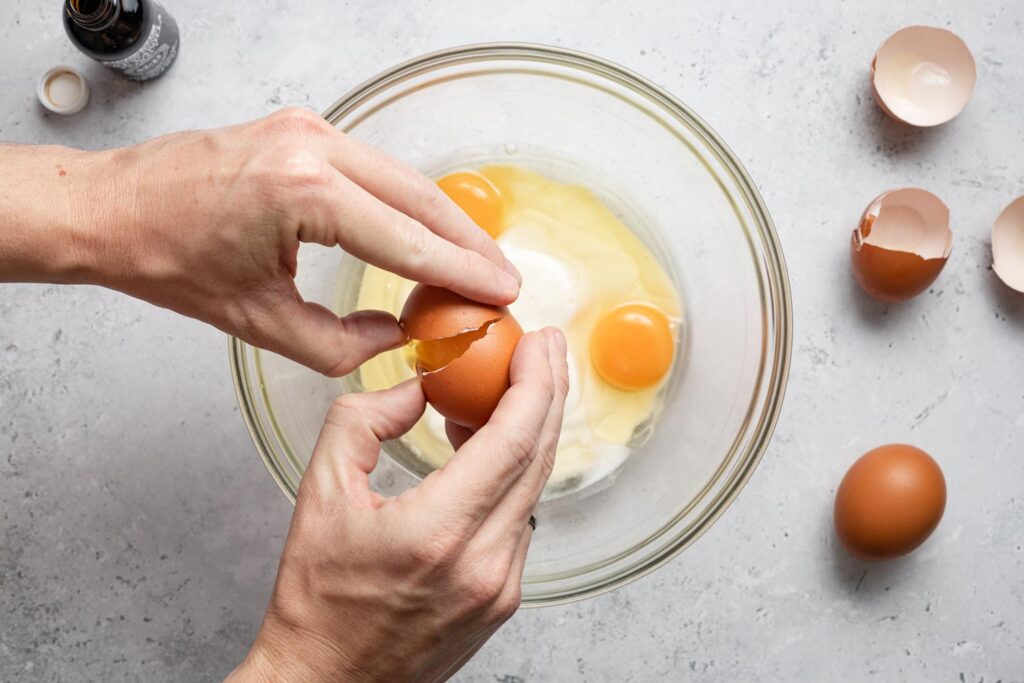
4. Combine the sour cream, eggs, and vanilla:
Whisk together the sour cream, eggs, and vanilla extract in a medium mixing bowl. Set aside.
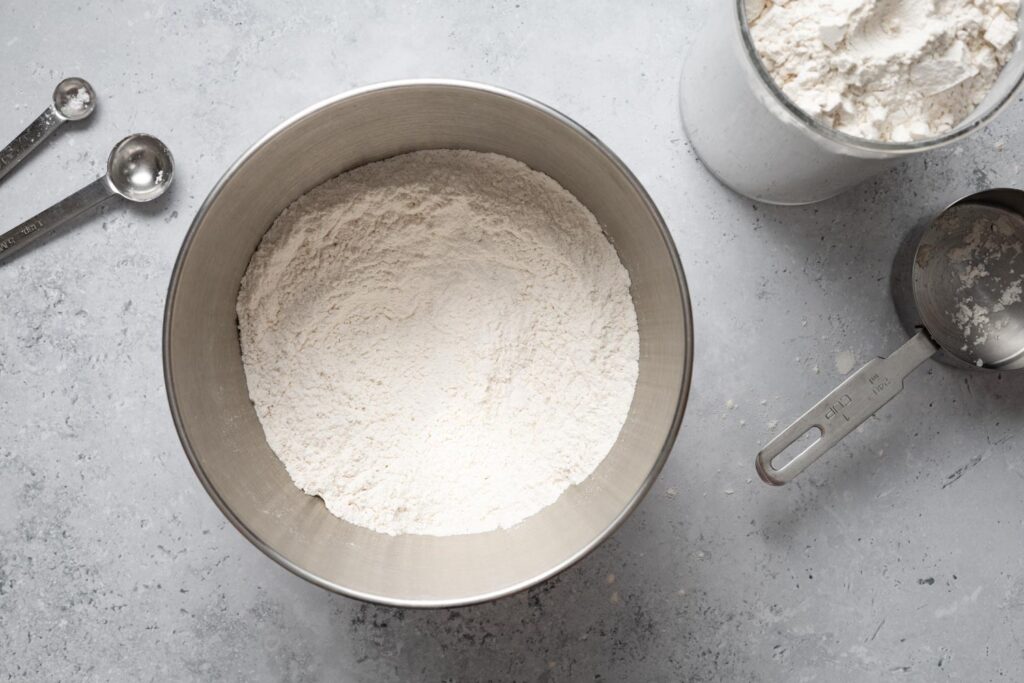
5. Mix the dry ingredients:
Add the flour, sugar, baking powder, baking soda, and salt to the bowl of a stand mixer fitted with the paddle attachment. Mix on low speed for 30 seconds to combine.
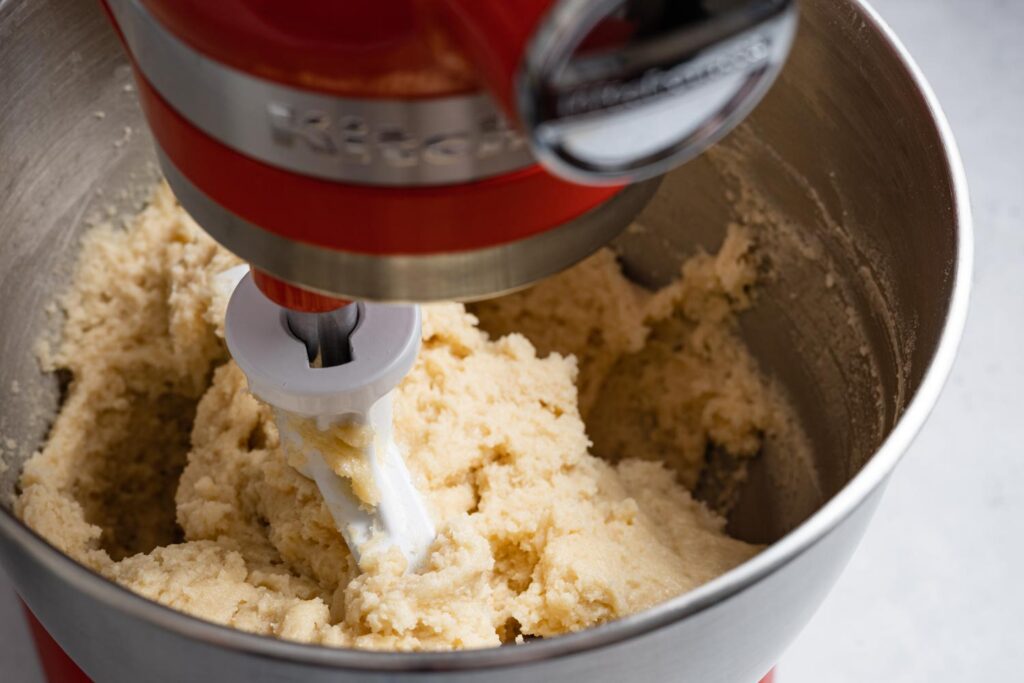
6. Add the butter:
Add the softened butter and a third of the sour cream mixture to the flour mixture and mix on low speed until combined. Raise the speed to medium and beat for 1 ½ minutes. Scrape down the sides of the bowl with a rubber spatula.
7. Add the rest of the sour cream mixture:
Add the rest of the sour cream mixture in 2 additions, beating well after each addition. Scrape down the sides of the bowl.
8. Make the chocolate batter:
Pour about one third of the batter into the melted chocolate. Use a rubber spatula to gently fold until fully combined.
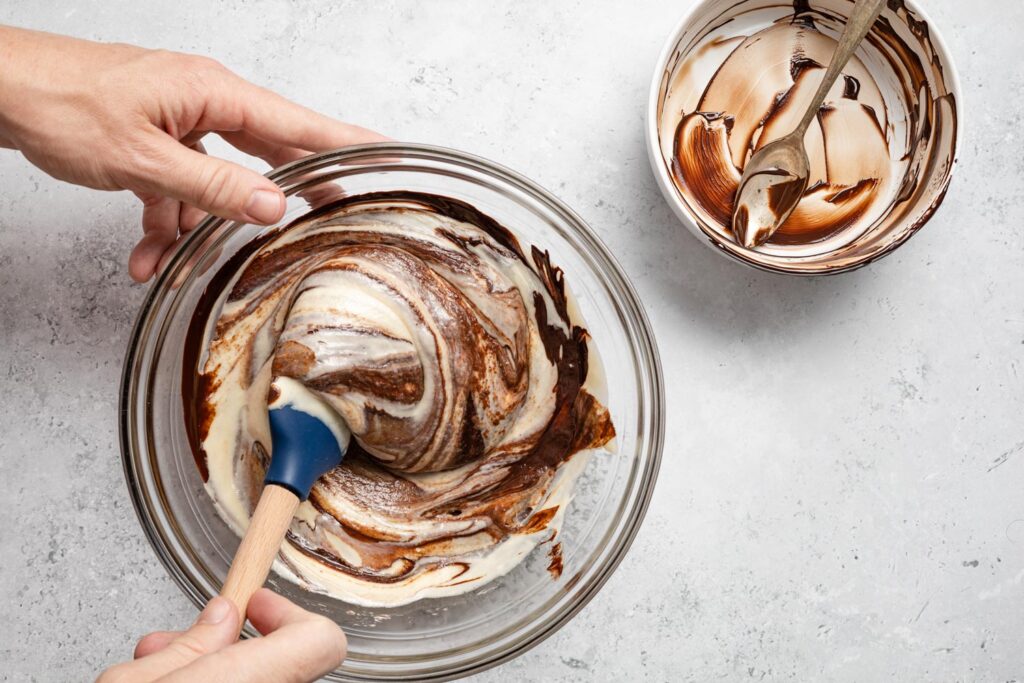
9. Make the marble swirl:
Transfer half of the plain cake batter into the prepared bundt pan. Top with the chocolate batter. Then pour the remaining plain batter on top. Swirl the batters together using a small offset spatula or a butter knife.
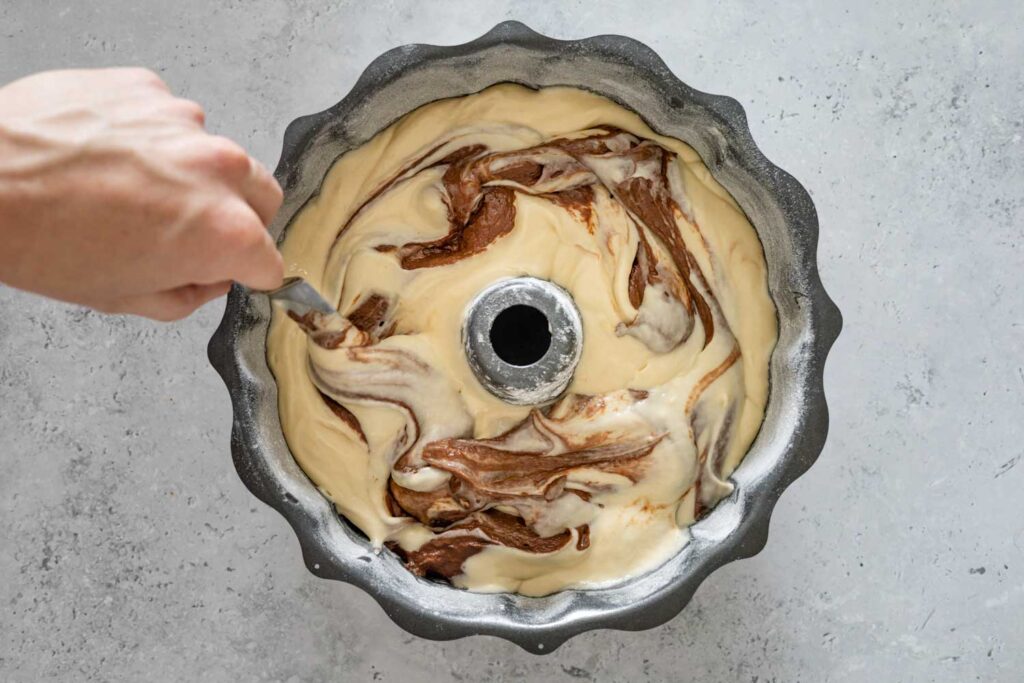
10. Bake:
Bake the cake for 45 minutes, or until a toothpick inserted in the center of the cake comes out clean.
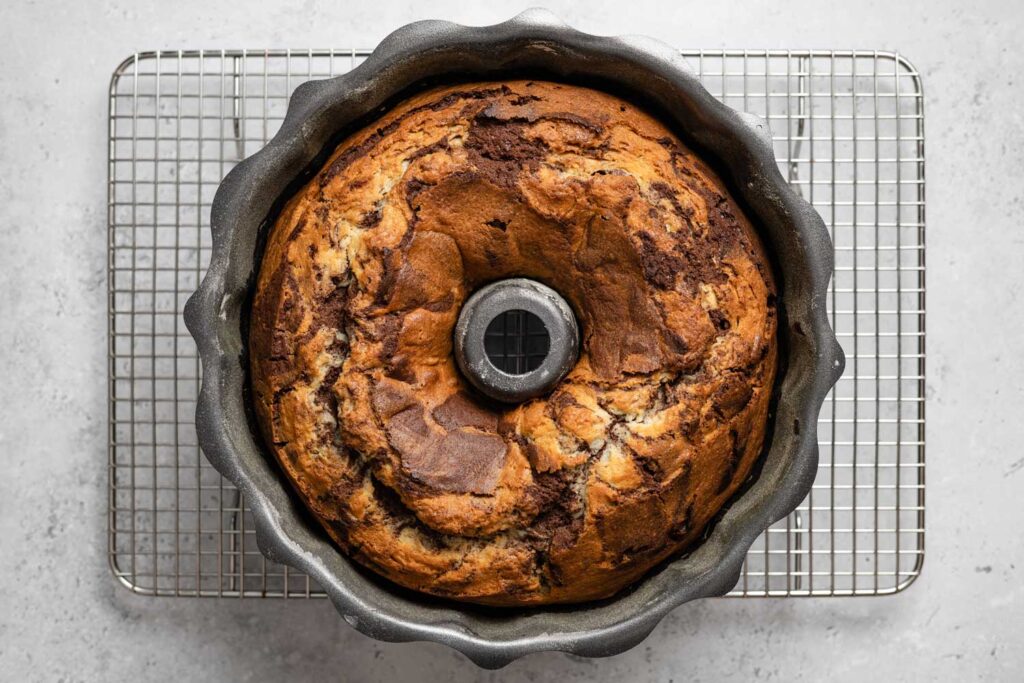
11. Cool:
Let the cake cool in the pan on a wire rack for 20 minutes. Then, invert the cake onto a serving platter and let cool completely.
If the cake doesn’t release from the pan, gently loosen with a butter knife or offset spatula.
Storage:
The cake will keep for up to 3 days, tightly covered, at room temperature.
the Sunday Baker is a participant in the Amazon Services LLC Associates Program, an affiliate advertising program designed to provide a means for sites to earn advertising fees by advertising and linking to Amazon.com.

in the recipe…. you didn’t write when you add the dry ingredients….
Hi Vani, the recipe starts with the dry ingredients in step 5, then the butter and a third of the sour cream mixture are added directly to the dry ingredients in step 6. I’ve updated the wording slightly in step 6 to make it clearer. Happy baking!
I haven’t made it yet, but I just wanted to say that your comments about marble cake are exactly the reason I hadn’t eaten it for years. Dry, and couldn’t taste the chocolate! The first chance I get, I am going to try your recipe!!! Thank You!
I’m excited to hear what you think!